You’ve probably stood in your rental at some point, staring at a bare wall or an ugly builder-grade backsplash, thinking: ‘I could fix this in an afternoon…if I actually owned this place.’ That gap between what you want and what your lease allows is one of the most common frustrations renters deal with, and honestly, most home organization guides don’t take it seriously. It just assumes you can drill, paint, and permanently install whatever you want.
But you can’t. And that’s fine because the removable products have genuinely caught up. This guide covers the three areas that matter most: wallpaper, shelving, and backsplash. What actually works? What to avoid? And exactly how to use each one without risking a cent of your deposit.
Quick Answer:
The safest damage-free upgrades for renters are removable (peel-and-stick) wallpaper, tension-rod or adhesive-strip shelving systems, and peel-and-stick backsplash tiles. All fully reversible, require zero drilling, and designed to remove cleanly from painted drywall without any damage.
Why “Removable” Isn’t Just a Marketing Word
Before jumping into products, it’s worth understanding why such products exist and what actually makes them safe to use for a rental. Not all “peel and stick” products are harmless. Some genuinely remove without a trace, and others leave residue, peel paint, or fade unevenly and look worse coming off than the wall did before.
The products that actually work share three traits:
- Low-tack, repositionable adhesive — designed to bond enough to stay put, but not so aggressively that it bonds into the paint layer itself.
- A slow, straight-pull removal method — most damage-free products fail specifically because people rip them off quickly instead of peeling slowly at a low angle.
- A track record on painted (not textured) drywall — nearly all of these products are tested for smooth, painted walls; textured or unpainted surfaces are far less reliable.
Keep that in mind as we go, since application and removal techniques matter almost as much as the product itself.
1. Removable Wallpaper
This is the single highest-impact change you can make to a rental, and it’s come a long way from the bubbly, hard-to-remove wallpaper of a decade ago.
How does it actually work?
Modern peel-and-stick wallpaper uses a repositionable adhesive backing, similar in concept to a large sticker. It applies dry (no water, glue or paste), and most brands allow you to peel and reposition multiple times during application if you misalign it.
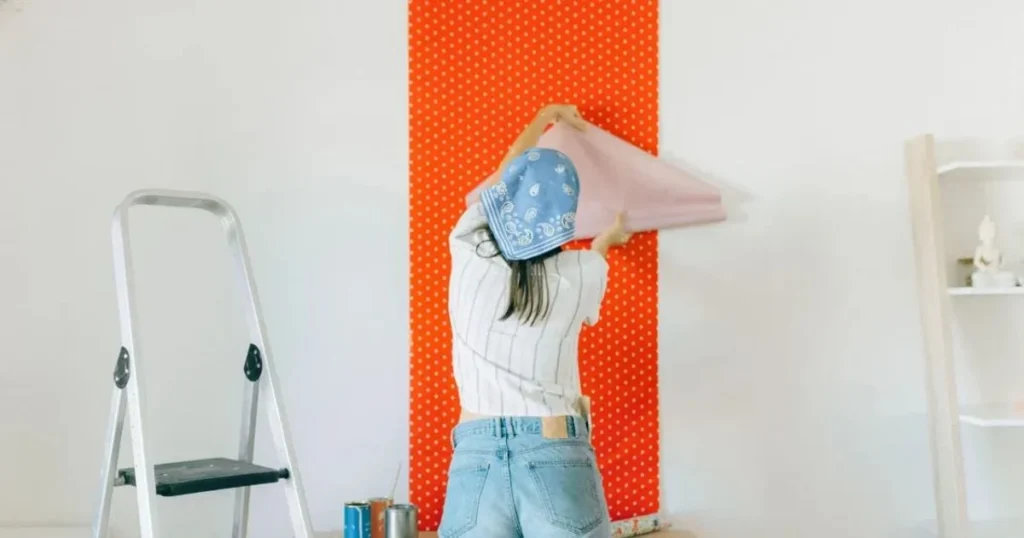
Where does it work best?
- Accent walls (one wall, not the whole room — easier to apply evenly and cheaper to commit to)
- Behind open shelving or a headboard
- Inside closets or on the back of a bookshelf for a subtle detail
- Small bathrooms (check moisture rating on the specific product first; not all are bathroom-safe)
Application Tips:
- Clean the wall first with a mild soap and water solution, and let it fully dry. Dust and residue are the most common causes of poor adhesion and patchy removal later.
- Apply it in a room-temperature environment. Extreme heat or cold affects how the adhesive bonds.
- Use a smoothing tool (a credit card wrapped in cloth works fine) to press out air bubbles as you go, rather than after the whole sheet is up.
- When it’s time to move out, remove it slowly, pulling back at roughly a 45-degree angle rather than pulling straight up from the wall in one go.
What to avoid?
Skip traditional pasted wallpaper entirely, and be cautious of ultra-cheap peel-and-stick brands with no reviews. The adhesive quality varies hugely between brands, and a bad one can genuinely damage paint on removal.
2. Renter-Friendly Shelving (No Drilling Required)
Shelving is where most renters give up too early, assuming their only option is a couple of small command hooks. There are actually several legitimate systems built specifically to avoid drilling into your walls.
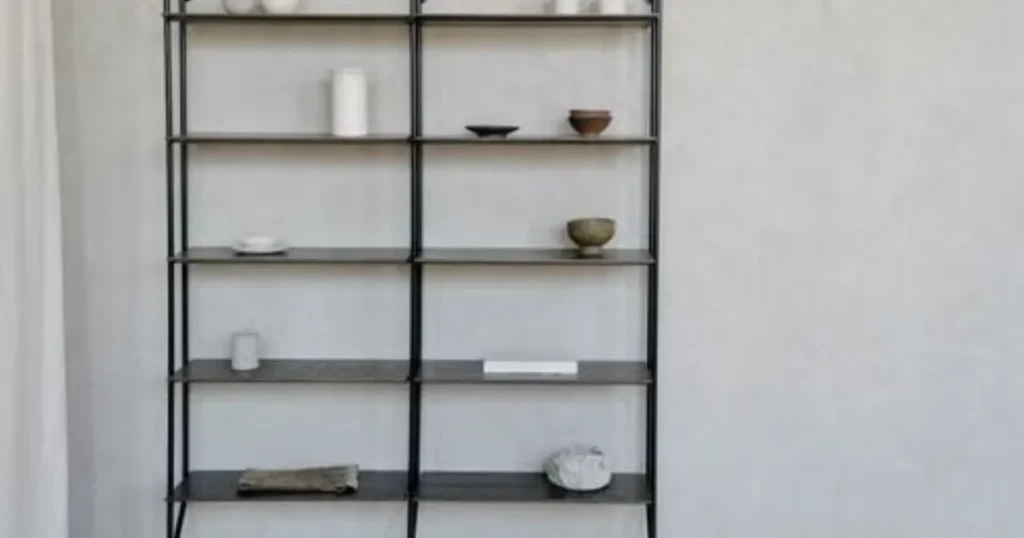
Tension Rod Shelves:
Uses spring-loaded rods that wedge between floor and ceiling (or between two walls in a closet/alcove) to create a freestanding shelving frame. No wall contact at all, which makes it the single lowest-risk option on this list. Genuinely zero damage possible since nothing touches the wall or ceiling surface.
Best for: Closets, Awkward alcoves, creating a “wall” of storage in an open studio layout.
Adhesive-strip Floating Shelves:
Uses heavy-duty double-sided mounting strips (not screws) rated for a specific weight limit. Check it out carefully, as ratings vary widely by brand and shelf size, and overloading is the most common cause of a shelf failing.
Best for: Light-to-medium items such as books, small plants, decor. Not for heavy items like TV or large speakers.
Over-the-door and Cabinet-mounted Units:
Hangs directly over a standard door or cabinet top, using the door/cabinet frame itself rather than any adhesive or drilling.
Best for: Bathrooms, closets, kitchen pantries with limited shelving.
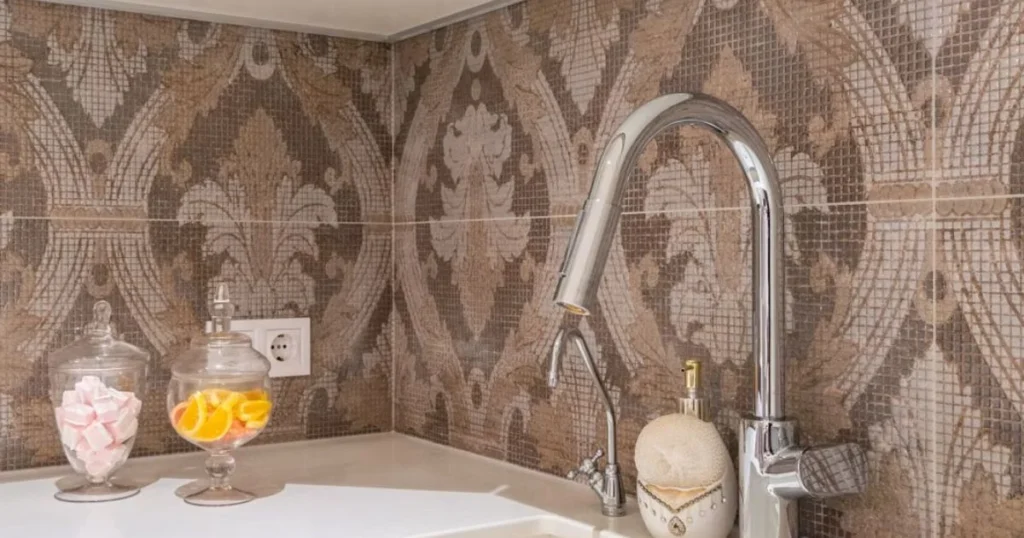
3. Peel-and-Stick Backsplash
Kitchen backsplash tile is traditionally one of the most permanent-feeling upgrades in a home, but the peel-and-stick tiles have made this fully renter-friendly too.
How does it work?
Thin, self-adhesive tile sheets apply directly over your existing backsplash or bare wall, if there’s no backsplash at all. No grout, no cutting tile, no mortar involved.
Application Tips:
- Clean and degrease the surface thoroughly first. Kitchen walls often have a light layer of cooking residue that prevents proper adhesion.
- Apply around outlets and switches carefully. Most sheets can be trimmed with regular scissors or a utility knife.
- Avoid direct high-heat areas such as behind a stovetop burner unless the specific product is rated heat-resistant. Check these details before purchasing.
How to remove it?
Similar slow-peel technique as with wallpaper. Warm the edge slightly with a hairdryer on low heat if it’s resisting, which softens the adhesive without damaging the surface underneath.
A Quick Note on Testing Before You Commit
Whatever type of product you choose from any of these three, apply a small test patch in an inconspicuous spot first, such as inside a closet or behind furniture, and leave it for 48-72 hours before committing to the full project. This single step catches the rare cases where a specific type of wall paint reacts poorly with an adhesive. Better to find out on a hidden 6-inch square than across the whole wall of your living room.
Frequently Asked Questions
No, when applied and removed correctly on painted drywall, quality removable wallpaper leaves no residue or paint damage. The key factors are: Proper wall cleaning before application and slow, angled removal rather than pulling it straight off.
This varies significantly by brand and shelf size, typically ranging from 5 to 25 lbs per shelf. Always check the specific product’s weight rating before mounting, and stay well under the maximum for anything you don’t want to risk falling.
Only if the specific product is labeled heat-resistant. Standard peel-and-stick tile can warp, or the adhesive can fail under direct, sustained heat exposure. So check the product specifications before installing near a stovetop.
Most leases don’t prohibit removable, non-damaging modifications, but it’s worth checking your specific lease agreement or getting quick written confirmation from your landlord before starting. This protects you in case of any dispute at move-out, even though the products themselves are designed to be damage-free.