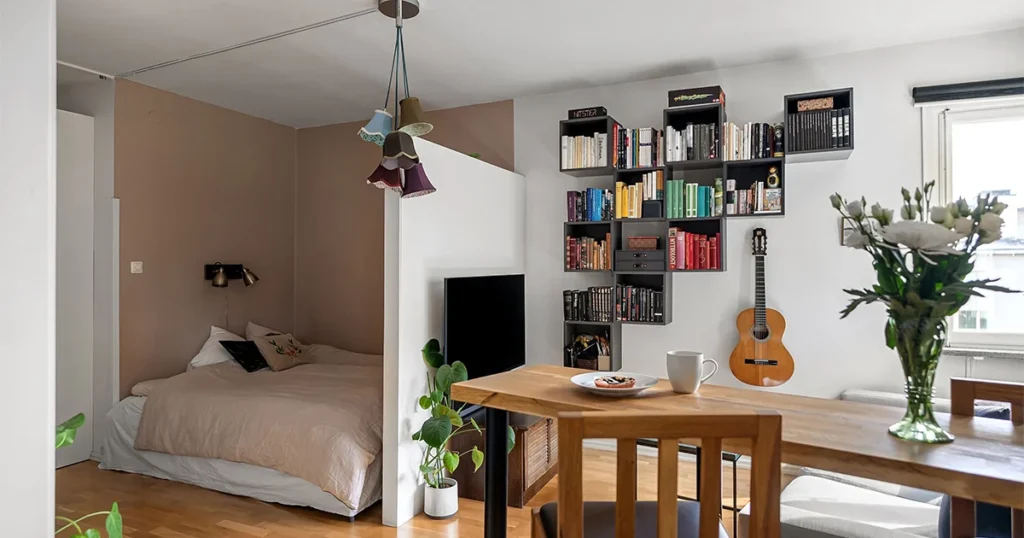
A studio apartment’s biggest challenge isn’t square footage but sleeping, relaxing, working, eating, and getting dressed — everything happening in the same area, with no walls. Without any specific rooms, a studio can start to feel like one giant, undefined space where nothing has its own place. The fix isn’t more square footage, it’s a deliberate layout strategy.
This guide covers how to divide a single room into functional sections using furniture placement, room dividers, and a few layout principles that make a studio feel like several distinct spaces instead of one blurry one.
Quick Answer:
The most effective way to zone a studio apartment is to anchor each function (sleep, living, work, dining) to a specific area using furniture placement and rugs to define boundaries. Then reinforce those boundaries with a room divider, open shelving unit, or a curtain, creating visual separation without needing walls or renovation.
Why Layout Matters More Than Square Footage
Two studio apartments of identical size can feel completely different depending on layout. An unzoned studio where the bed, sofa, and desk all blend into one visual mass feels cramped even if it’s genuinely spacious. A well-structured studio, even a small one, feels less chaotic because your eye can immediately identify “this is the sleeping area, this is the living area” without confusion.
Step 1: Map Out Each Area Before Buying or Moving Anything
Before rearranging furniture, identify which “room” you actually need to accommodate. Most studios need some combination of:
- Sleep area (bed, nightstand)
- Living/relax area (seating, TV or reading area)
- Work area (desk, if you work from home)
- Dining area (table, even if small)
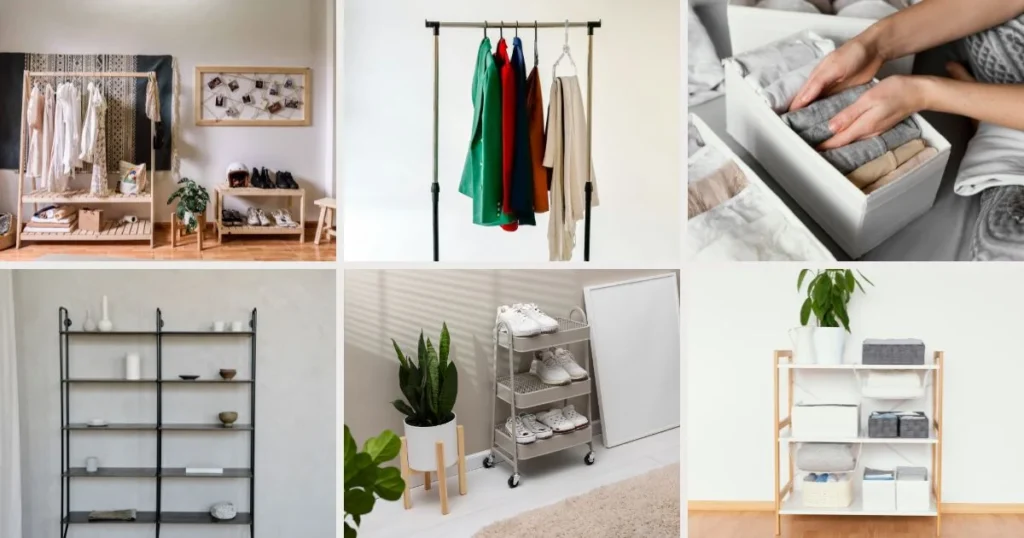
- Entry/storage area (where bags, shoes, and coats land)
Not every studio needs all five. It all depends solely on what you actually use daily versus what you’re trying to force in.
Step 2: Anchor the Sleep Area First
The bed is usually the largest, least flexible item in a studio, so decide its placement first and build everything else around it.
Common approaches:
- Against the furthest wall from the entry: It creates the most visual and physical distance from the “public” parts of the room.
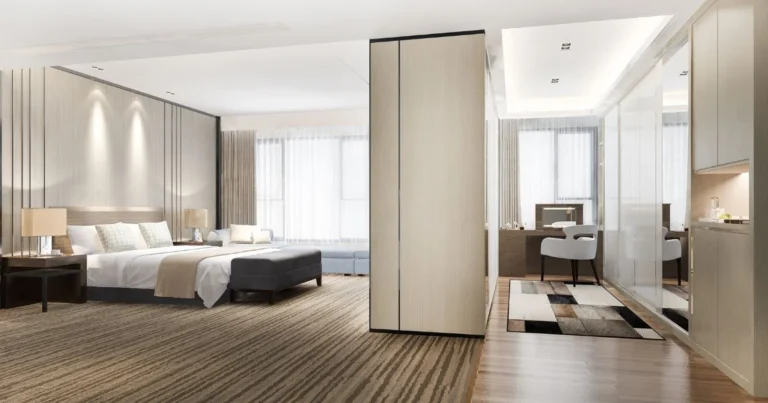
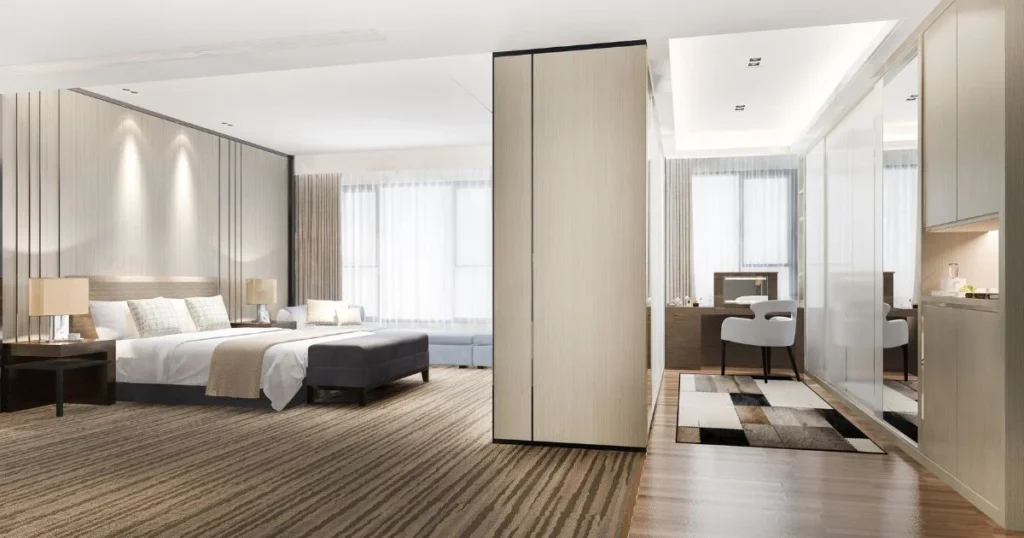
- Behind a room divider or open shelving unit: It physically separates the bed from the rest of the room, which separates the space even though it’s technically the same room.
- In an alcove or recessed area: If your studio has one then it’s an already-defined nook, making it the easiest zoning win available. Use it for sleeping if you have one.
Step 3: Define Zones With Rugs, Not Just Furniture
This is one of the most underused layout techniques in small spaces. A rug placed under your seating area visually signals “this section of floor is the living room” the same way a wall would in a larger apartment. Adding a second, different rug under a desk or dining area reinforces that each zone is distinct, even without any dividers at all.
Practical Tip: Rugs don’t need to be large or expensive to work for this. A well-placed smaller rug creates a clearer boundary than one giant rug covering the whole floor, which actually works against the zoning effect by visually merging everything back into one space.
Step 4: Use Furniture That Faces Away From the Bed
Positioning your sofa or main seating so its back faces the sleeping corner (rather than facing it) reinforces the visual separation. Your eye reads “seating area” as its own thing, rather than “stuff near the bed.” This is a simple, free layout adjustment that makes a bigger difference than most people expect.
Step 5: Add a Physical Divider If You Want a Stronger Boundary
For studios where visual cues (rugs, furniture orientation) aren’t quite enough, a physical divider adds a real boundary without committing to a wall:
- Bookshelf or open shelving unit: It serves as a storage while dividing the room, and doesn’t block light the way a solid wall or curtain would.
- Curtain track or room-divider curtain: It closes off a section (useful for a sleep zone specifically), fully retractable when you want the whole room open again.
- Folding screen/room divider panel: This is the most flexible option, since it can be moved, folded away, or repositioned entirely depending on the day.
Step 6: Multi-Purpose Furniture Reduces the Need for More Zones
Some furniture can serve two nooks at once, which reduces how much distinct separation you need to create in the first place:
- A daybed or sofa bed blends the sleep and living zones intentionally, rather than fighting to keep them visually separate.
- A drop-leaf or fold-down table can serve as both a desk and a dining table, collapsing when not in use.
- An ottoman with storage can double as a coffee table, extra seating, and storage all at once.
A Layout Mistake Worth Avoiding
Pushing all your furniture against the walls to “maximize open floor space” often backfires in a studio. It can leave a large, undefined empty middle with no clear zones at all. Floating a piece of furniture (like a sofa) away from the wall, even by a foot or two, to help define a zone’s edge is often more effective than keeping everything hugging the wall.
Frequently Asked Questions
The most common approaches are positioning the bed behind a room divider, open shelving unit, or curtain, combined with placing the bed in the area furthest from the entry to create both physical and visual separation from the living space.
Yes. Open shelving units and curtain dividers are particularly effective since they create a physical boundary without blocking natural light or making the space feel smaller, unlike a solid wall or floor-to-ceiling divider would.
Anchoring the largest, least flexible item (usually the bed) first, then building other zones around it using rugs and furniture orientation to define boundaries, tends to work better than arranging furniture purely to maximize open floor space.
Not necessarily. While it can seem like this maximizes floor space, it sometimes creates one large, undefined area with no clear zones. Floating a piece of furniture slightly away from a wall can help define the edge of a specific area more effectively.